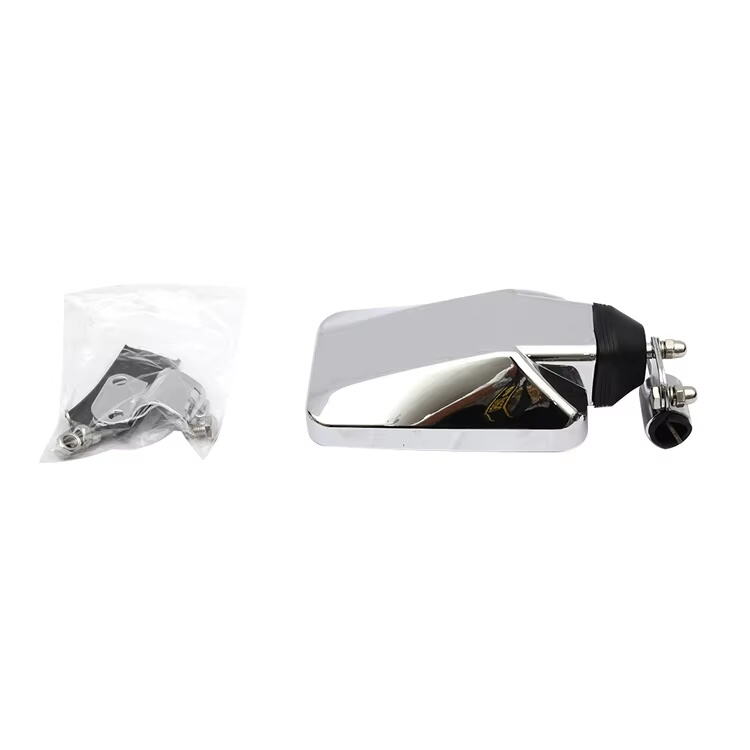
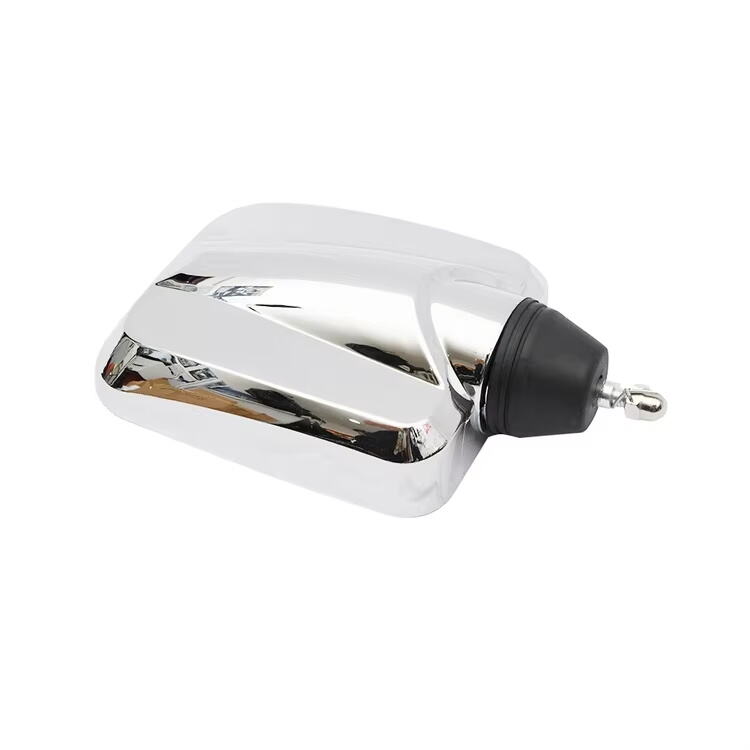
Complete Guide to Upgrading Your HIN 300 with Professional-Grade Mirrors
Installing truck mirrors on your HIN 300 can significantly enhance your driving experience and safety on the road. Whether you're replacing damaged mirrors or upgrading to a more advanced set, proper installation is crucial for optimal performance. This comprehensive guide will walk you through the entire truck mirror installation process, ensuring you achieve professional-quality results.
Before diving into the installation steps, it's important to understand that quality mirrors are essential safety components that provide crucial visibility during driving, parking, and maneuvering. The HIN 300's design accommodates various mirror types, making it versatile for different driving needs and preferences.
Essential Tools and Preparation Steps
Required Tools and Materials
Successful truck mirror installation begins with having the right tools at hand. Gather a socket set, adjustable wrench, screwdrivers (both Phillips and flathead), wire strippers if dealing with powered mirrors, and a torque wrench for precise tightening. You'll also need the manufacturer-provided mounting hardware, electrical connectors for powered mirrors, and possibly thread-locking compound.
Additionally, prepare a clean workspace with adequate lighting and lay out all components in an organized manner. Having a helper nearby can make the installation process smoother, especially when dealing with larger mirror assemblies.
Pre-Installation Inspection and Planning
Before starting the installation, thoroughly inspect your new mirrors and verify all mounting points on your HIN 300. Check the wiring harness condition if installing powered mirrors, and ensure all mounting surfaces are clean and free from rust or debris. Take photos of the existing mirror setup for reference, paying special attention to wire routing and bracket positioning.
Create a systematic plan for the installation, including steps for removing old mirrors if necessary. This preparation phase is crucial for avoiding complications and ensuring a smooth installation process.

Step-by-Step Installation Process
Removing Existing Mirrors
Begin by carefully disconnecting any electrical connections to the existing mirrors. Most HIN 300 models have easily accessible wiring connectors behind the door panel or through a dedicated access point. Remove the mounting bolts methodically, keeping track of their positions and any specialized hardware that might be reused.
If the original mirrors have been in place for a long time, you may encounter some resistance due to corrosion or thread-locking compounds. Apply penetrating oil if necessary, and allow it to work before attempting removal. Be patient to avoid damaging the mounting points.
New Mirror Mounting Procedure
Position the new mirror brackets according to the manufacturer's specifications. Most HIN 300 models have pre-drilled mounting points, making alignment straightforward. Start all bolts by hand to ensure proper thread engagement before tightening. This prevents cross-threading and potential damage to the mounting points.
For powered mirrors, carefully route the wiring through the provided channels or grommets. Avoid pinching or stretching the wires, as this could lead to electrical issues later. Make all electrical connections according to the color-coding scheme provided with your new mirrors.
Advanced Installation Techniques
Power Mirror Wiring Integration
When installing powered mirrors, proper wire routing and connection are crucial for reliable operation. The HIN 300's electrical system typically provides dedicated circuits for mirror functions. Use the vehicle's wiring diagram to identify the correct connection points and verify voltage requirements match your new mirrors.
Install any required relays or control modules according to the manufacturer's specifications. Test all powered functions before fully securing the wiring to ensure proper operation. This includes heating elements, power adjustment motors, and integrated signal lights if equipped.
Weatherproofing and Sealing
Protect your installation from the elements by applying appropriate weatherproofing measures. Use quality silicone sealant around mounting points if recommended by the manufacturer. Ensure all electrical connections are properly protected with weatherproof connectors or heat-shrink tubing.
Pay special attention to drain holes and ventilation points designed to prevent moisture accumulation. Proper sealing will extend the life of your mirrors and maintain reliable operation in all weather conditions.
Final Adjustments and Testing
Mirror Alignment and Calibration
Once the mirrors are securely mounted, perform a thorough alignment check. Adjust the mirrors to provide optimal visibility while maintaining compliance with local regulations. For powered mirrors, verify smooth operation through their full range of motion.
Test all integrated functions such as heating elements and turn signals if equipped. Make fine adjustments to eliminate any vibration or movement at highway speeds. Remember that proper mirror alignment is crucial for safe vehicle operation.
Performance Verification
Conduct a comprehensive road test to verify mirror stability and functionality under actual driving conditions. Check for any unusual vibrations or noise that might indicate loose mounting hardware. Verify that powered functions work consistently and that mirror positions remain stable at various speeds.
Document any adjustments made during testing and maintain records of the installation process. This information can be valuable for future maintenance or troubleshooting.
Frequently Asked Questions
What tools are absolutely necessary for truck mirror installation on a HIN 300?
The essential tools include a socket set with various sizes, adjustable wrench, both Phillips and flathead screwdrivers, wire strippers for powered mirrors, and a torque wrench for proper bolt tightening. Having these basic tools ensures a smooth installation process.
How long does a typical mirror installation take on the HIN 300?
A standard mirror installation typically takes between 1-2 hours for manual mirrors and 2-3 hours for powered mirrors. This timeframe can vary based on experience level and whether you're replacing existing mirrors or performing a first-time installation.
What are the most common mistakes to avoid during mirror installation?
Common mistakes include over-tightening mounting bolts, improper wire routing for powered mirrors, failing to weatherproof electrical connections, and inadequate testing before considering the job complete. Taking time to follow the manufacturer's specifications and double-checking all connections helps avoid these issues.


